 Conduit Bending
Updated 2026-09-29
Take-up, radius and gain for EMT hand benders
| EMT size | Take-up | Centerline radius | Gain (centerline) | Gain to back of 90 | Developed 90 | Rigid on same shoe |
|---|---|---|---|---|---|---|
| 1/2" | 5" | 4" | 1-11/16" | 2-7/16" | 6-5/16" | — |
| 3/4" | 6" | 4-1/2" | 1-15/16" | 2-7/8" | 7-1/16" | 1/2" |
| 1" | 8" | 5-3/4" | 2-7/16" | 3-5/8" | 9-1/16" | 3/4" |
| 1-1/4" | 11" | 7-1/4" | 3-1/8" | 4-5/8" | 11-3/8" | 1" |
Radii are the NEC Chapter 9 Table 2 one-shot minimums that hand-bender shoes are built to; your shoe may be slightly larger. Take-ups are the values cast into the common models from the major makers. Always use the number on your own shoe.
Take-up, gain and setback: what each is for
- Take-up (deduct) is for marking a stub: stub height − take-up = where the arrow goes. See the stub-up calculator.
- Gain is for cutting to length: a piece with a 90 is shorter than its two legs added together by the gain. For legs measured to the back (outside) of the 90, the gain is the centerline gain plus one conduit diameter.
- Setback is take-up minus gain, used by some electricians to mark from the other leg.
- Developed length is the conduit inside the bend itself: π ÷ 2 × radius for a 90.
Gain at other angles (centerline)
| EMT size | 10° | 22.5° | 30° | 45° | 60° | 90° |
|---|---|---|---|---|---|---|
| 1/2" | 0.002" | 0.021" | 0.049" | 0.172" | 0.430" | 1.717" |
| 3/4" | 0.002" | 0.023" | 0.055" | 0.194" | 0.484" | 1.931" |
| 1" | 0.003" | 0.029" | 0.071" | 0.247" | 0.618" | 2.468" |
| 1-1/4" | 0.003" | 0.037" | 0.089" | 0.312" | 0.779" | 3.112" |
Gain at smaller angles is tiny, which is why the sticker method ignores it for offsets. On a 45° offset with a 1-1/4" shoe it is already 5/16" per bend.
The marks on a hand bender
- Arrow: the reference for stubs, offsets and kicks.
- Teardrop / rim notch: the center of a bend, used for the center of a 3-point saddle.
- Star point: the back of a 90, for back-to-back bends with the bender reversed.
- Degree marks: 10°, 22.5°, 30°, 45° and 60° sight lines on the side of the shoe.
Checking your own shoe
Bend a 90 on a scrap with the arrow at a known mark, for example 10" from the end. Measure the finished stub from the floor to the end: stub − 10 is your real take-up. Do it once per shoe and write it inside the handle.
Questions electricians ask
What is the deduct for a 1/2 inch EMT bender?
5 inches. For a 90° stub, subtract 5" from the stub height and put the arrow on that mark.
What is the take-up on a 1 inch EMT bender?
8 inches. A 1" EMT shoe also bends 3/4" rigid with the same 8" take-up.
What is gain in conduit bending?
Gain is the conduit a 90° bend saves compared with two straight legs meeting at a sharp corner. When a piece has 90s in it, subtract the gain for each 90 from the sum of the leg lengths to know how long to cut it.
Where is the star on a conduit bender?
The star point is cast into the side of the shoe; it marks the back of a 90 and is used for back-to-back bends. The arrow marks the start of the bend and the notch or teardrop marks the center of a bend for saddles.
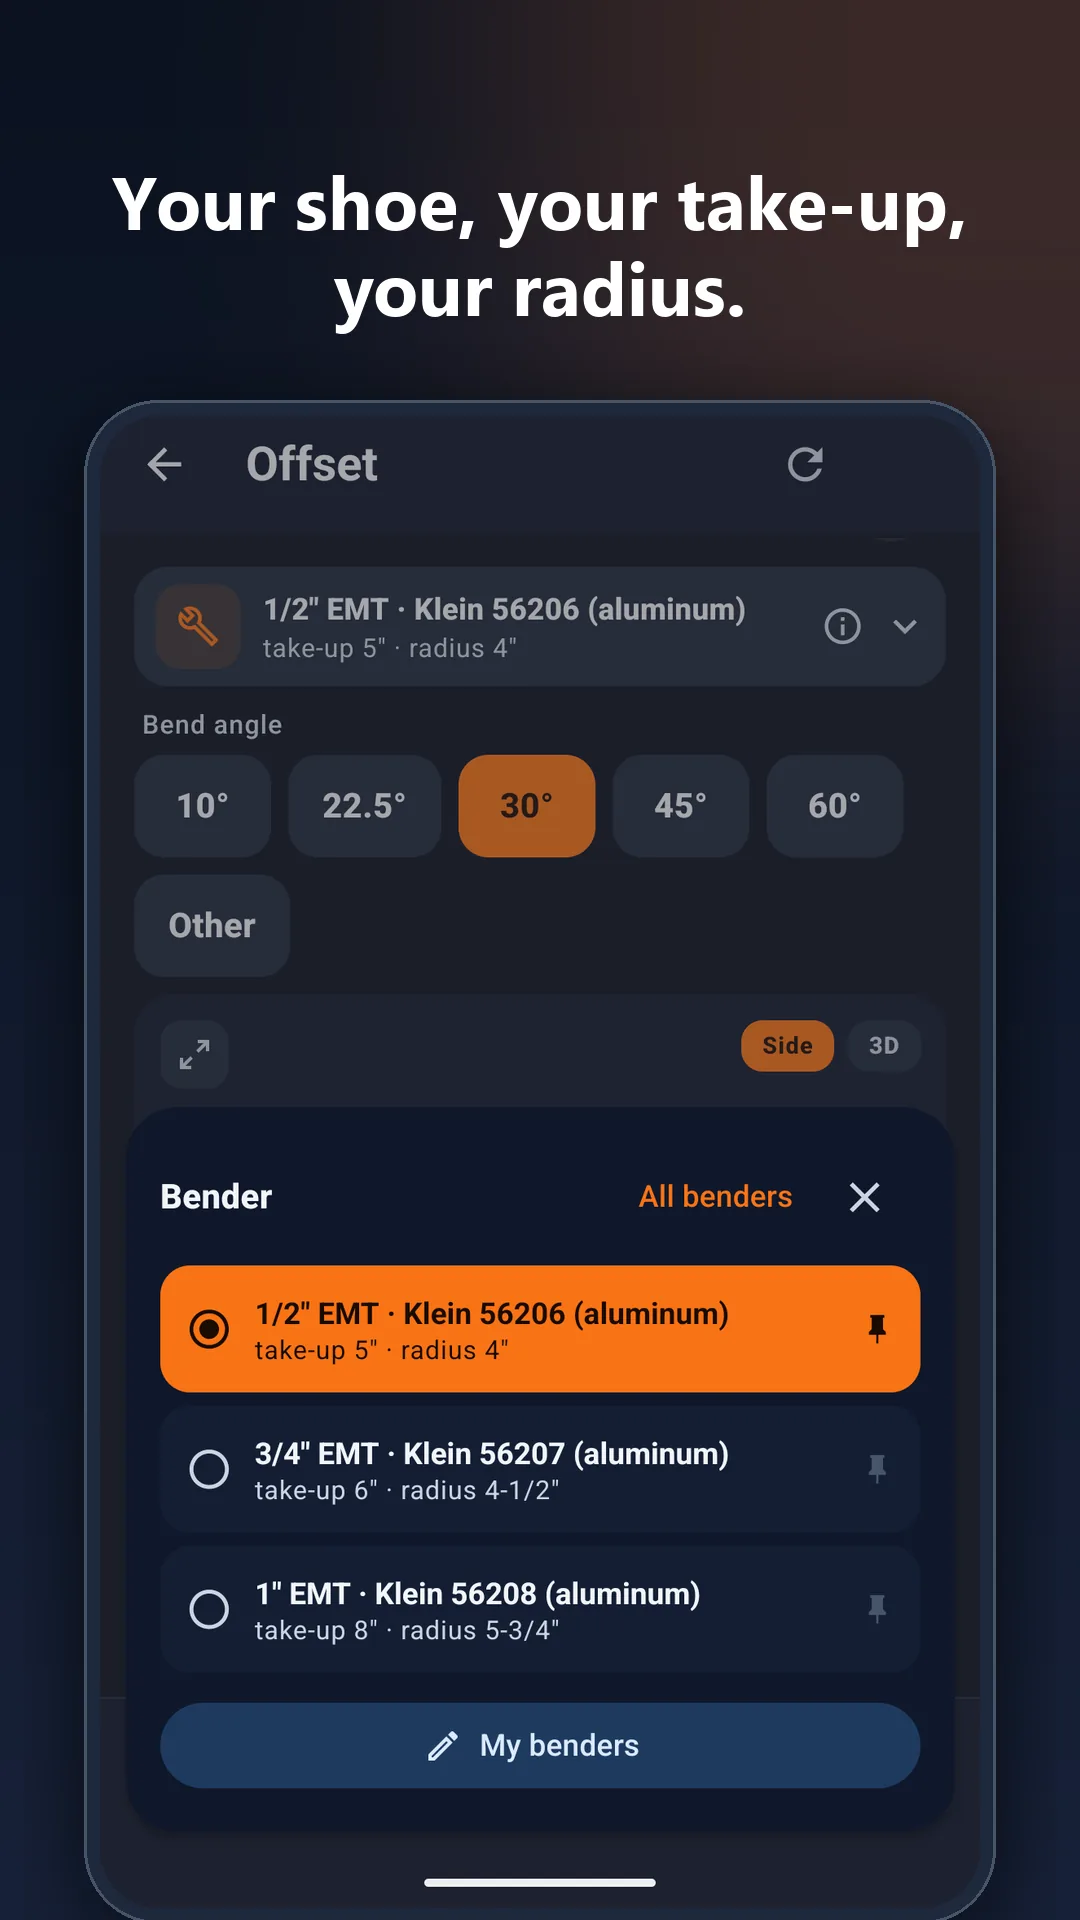
Thirty benders, already loaded
- Klein, Greenlee, IDEAL, Milwaukee, Southwire, Gardner Bender
- Edit take-up and radius to match the number cast in your shoe
- Spec sheet: deduct, gain, setback and travel for every angle
- Rigid on an EMT shoe, and mechanical and electric bender templates
$7.99 one time · no subscription · no ads · works offline
Keep going
Where to put the arrow for a stub of exact height, by bender size.
Open →Back-to-Back 90sStar-point and arrow marks for a U with an exact width.
Open →Bending Multiplier ChartMultipliers, shrink per inch and a ready-made offset table from 1" to 24".
Open →Conduit Bending FormulasEvery formula behind offsets, saddles, 90s and kicks, with where each number comes from.
Open →How to Bend ConduitA complete hand-bender guide from the first 90 to saddles, with the marks for each.
Open →