By Blissom · Updated 2026-11-04
Layout values: check them against your own bender, on scrap first.

A tour of the shoe
Hold the bender with the handle up and the hook facing you. From the hook back along the shoe, this is what you usually find.
- Hook. The jaw at the front that grabs the pipe and anchors the bend. The direction it faces decides which side of the mark the bend forms on.
- Arrow. A cast or printed arrow along the rim, near where the bend starts on a 90. Your pencil mark goes under it for stubs and most offsets.
- Rim notch / teardrop. A notch or teardrop near the middle of the shoe. It marks the bend center for a 45° saddle hump.
- Star point. A star or similar symbol on the rim, farther around the curve. It sits where the back of a 90 ends up, so it is used when measuring to the back of a bend.
- Degree lines. Lines on the side of the shoe, often 10°, 22.5°, 30°, 45° and 60°. When the pipe lines up with one, the bend has reached that angle.
- Stampings. Conduit size, the take-up for a 90, and on some models a small multiplier table.
The groove in the shoe is sized for one EMT size (and often the next rigid size down). The wrong groove flattens the pipe.
Which mark for which bend
| Bend | Mark on the pipe | Bender reference on it | Hook faces |
|---|---|---|---|
| Stub-up 90 | Stub − take-up from the end | Arrow | The end you measured from |
| Back-to-back 90 (second bend) | Outside U width from back of first 90 | Star | Away from the first 90 |
| Offset | Two marks, depth × multiplier apart | Arrow, both bends | Turn the pipe 180° for bend 2 |
| 3-point saddle center | Center mark over the obstruction | Rim notch / teardrop | Either way; center first |
| 3-point saddle outer bends | Center ± depth × 2.5 | Arrow | Bender flipped from the center bend; see your guide |
| 4-point saddle | Four marks, two offsets | Arrow | As for offsets |
| Kick | Where the kick starts | Arrow | Toward the end that moves |
Common practice in Klein, Greenlee and IDEAL bending guides. Some instructions place a bend differently for a given mark; when they disagree with this table, follow the instructions that came with your bender.
Example with a 12" stub: the arrow goes on 7" for 1/2", 6" for 3/4", 4" for 1", 1" for 1-1/4" EMT, because the take-ups are 5", 6", 8", 11".
Reading the degree lines
- Get square to the shoe. Look at the bender from directly beside it, with your eye level with the pipe. A view from above or behind reads several degrees off.
- Pull until the pipe lines up with the line for your angle. On most shoes the edge of the conduit runs parallel to that line when the angle is reached; read your own bender's instructions for which edge it means.
- Release and re-read. The pipe springs back a little. Add a touch more if it relaxed short.
- Confirm with a level. A torpedo level with a 45° vial, or a digital angle finder on the pipe, is more accurate than the eye.
Each line pairs with a multiplier and a shrink. The same numbers sit in many bender tables:
| Sight line | Offset multiplier | Shrink per inch of depth | Exact multiplier |
|---|---|---|---|
| 10° | 6.0 | 1/16" | 5.759 |
| 22.5° | 2.6 | 3/16" | 2.613 |
| 30° | 2.0 | 1/4" | 2.000 |
| 45° | 1.4 | 3/8" | 1.414 |
| 60° | 1.2 | 1/2" | 1.155 |
Exact multiplier = 1 ÷ sin(angle). The rounded values are what most offset tables print.
Numbers stamped on the bender
- Take-up (deduct): subtract it from the stub height to get the arrow mark. Common hand-bender values are 5" for 1/2", 6" for 3/4", 8" for 1", 11" for 1-1/4" EMT.
- Size: the EMT size and often the rigid size the same groove handles.
- Multiplier or offset table: printed on some models; matches the table above.
- Gain: rarely stamped. You can work it out from one test bend; see measuring take-up and gain.
Brand differences
The ideas are shared across brands, but the details are not. Symbols can look different, and the star, notch or tables may sit in different places on the shoe. Some benders combine the star and the arrow functions in another way, and the take-up of two benders for the same size may differ.
Before trusting this page, read your own shoe and its instructions. Then bend one 90 on scrap, measure the stub, and confirm the stamped take-up. It costs one short piece and saves a stick.
Reading errors
- Putting the star on a stub mark: the stub height is off by roughly the distance between the star and the arrow.
- Hook facing the wrong way on a stub: the bend forms on the wrong side of the mark and the stub misses its height.
- Reading degree lines from above: shallow angles look steeper, so bends come out under.
- Using the notch for a 60° or 90° center saddle without checking your bender's guide, which may call for a different reference.
- Trusting a worn shoe's take-up. Re-measure an old bender; stampings outlive accuracy.
Unsure of a term? Check the bending glossary.
Sources: NEC 2023 358.24 and Chapter 9, Table 2; Klein Tools Conduit Bender Guide (stub take-up, offset multipliers and shrink, saddles). Method.
Questions electricians ask
What does the arrow on a conduit bender mean?
It is the main reference for most bends. For a stub-up you put the arrow on the mark (stub height minus take-up) with the hook toward the end you measured from. Offsets and the outer bends of saddles are also usually bent with the arrow on the mark.
What is the star on an EMT bender for?
The star marks the back of a finished 90. It is used for back-to-back 90s: measure the outside width of the U from the back of the first 90, mark it, and put the star on that mark with the hook facing away from the first bend.
What is the teardrop or notch on a bender?
The rim notch, often drawn as a teardrop, marks the center of the bend for a 3-point saddle with a 45° center. Put it on the center mark, which sits over the obstruction, and bend the center first.
How do I use the degree marks on a bender?
Pull until the conduit lines up with the sight line for the angle you want, viewed square to the shoe. Then release and check with a level or angle finder, since spring-back and viewing angle both throw the reading off.
Where is the take-up on my bender?
Usually stamped or printed on the shoe or handle, along with the conduit size. If it is worn off or you doubt it, measure it with one test 90.
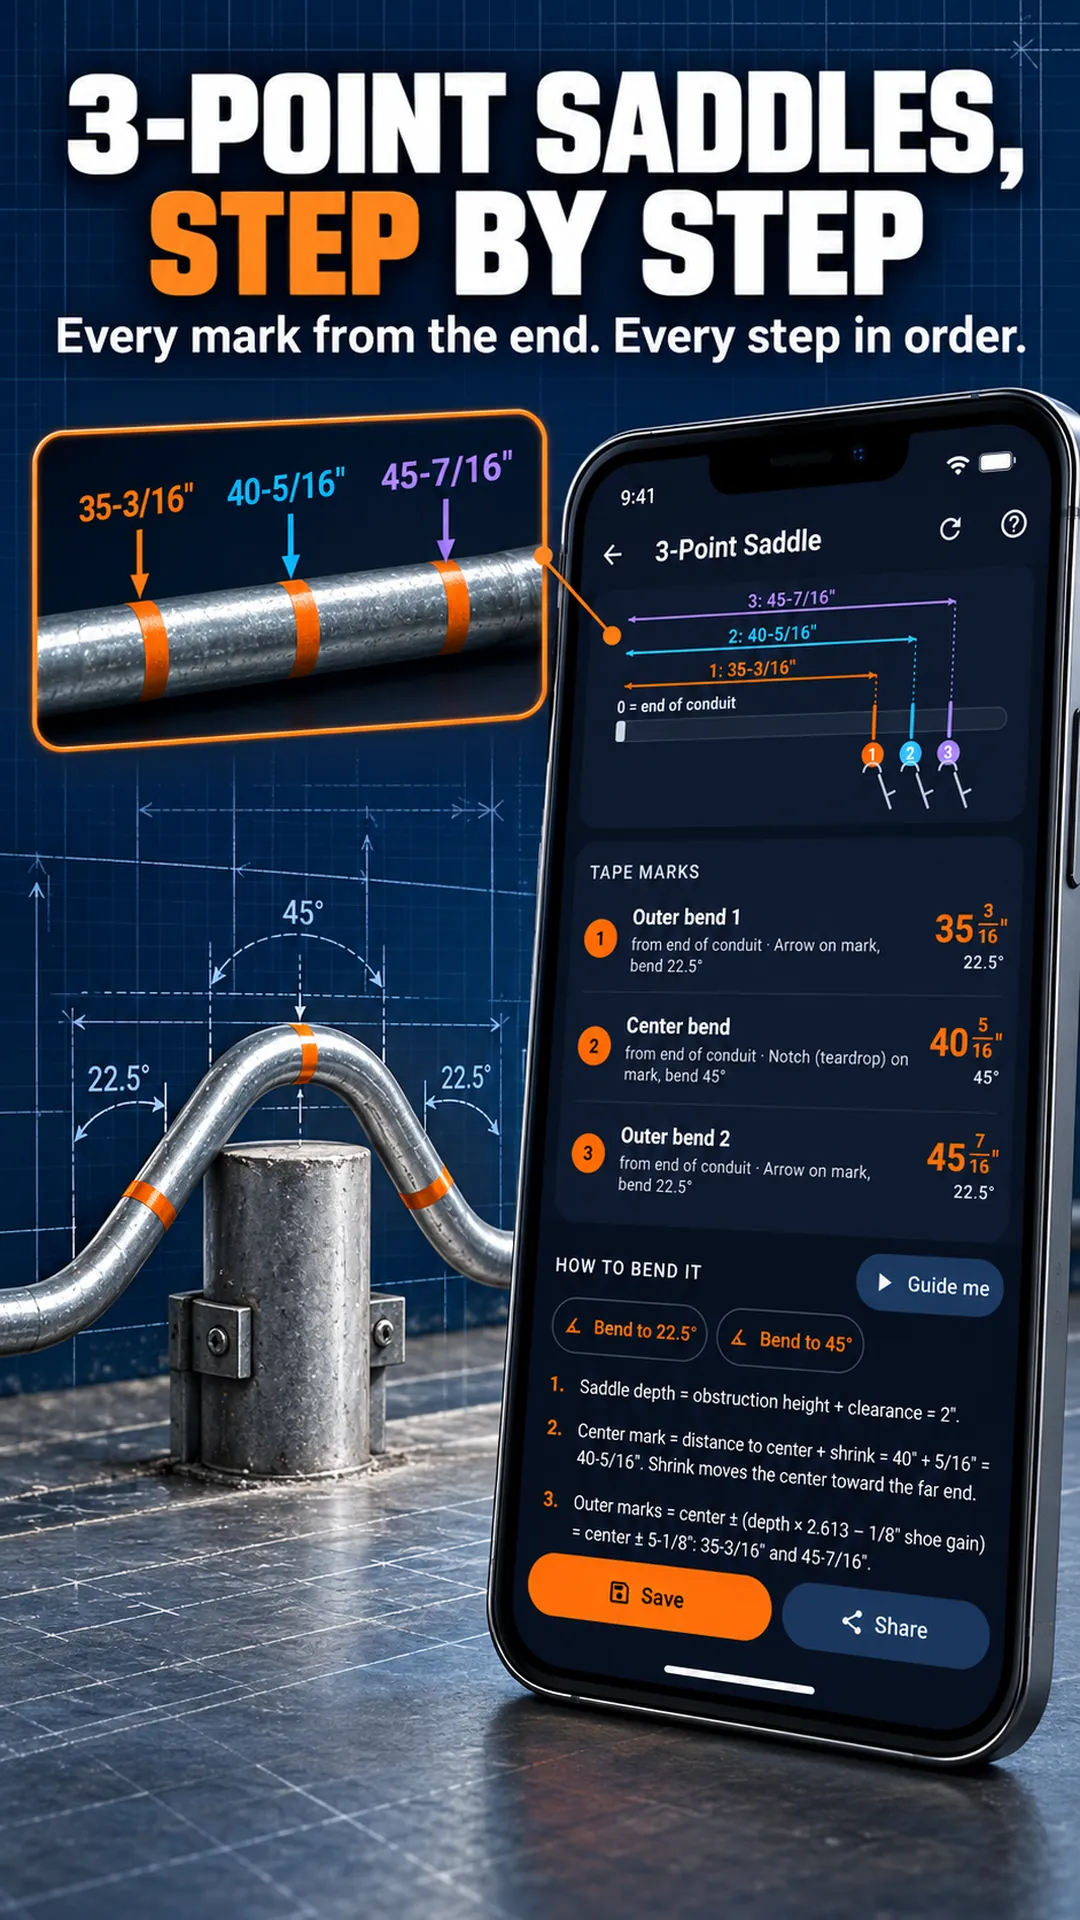
The right mark, every bend
- Marks from the end of the pipe, corrected for your shoe
- Drawings that show which way the hook faces
- Guide mode names the reference for each bend
- Saved jobs, offline
Android only. There is no iPhone version yet; the free calculators on this site work on any phone.
$7.99 one time · no subscription · no ads · works offline