 Conduit Bending
By Blissom · Updated 2026-10-23
Layout values: check them against your own bender, on scrap first.
Short answer: shrink = depth × shrink per inch (30° = 1/4", 45° = 3/8", 22.5° = 3/16", 10° = 1/16", 60° = 1/2"). For an offset bent toward an obstruction, add it when you position the far bend. For a 3-point saddle, move only the center mark, by 3/16" per inch of depth for a 45° center; the larger end-to-end loss is not added to it.
What shrink is
When conduit climbs over an offset, the part between the bends travels diagonally. A diagonal is longer than the straight run it covers, so the finished piece reaches less far along the wall than the same length of straight pipe. That difference is shrink. If you ignore it, an offset measured to clear an obstruction lands short and hits it.
Shrink per inch of depth, by angle
The 6" and 10" columns use the field shrink fractions from bender guides (15° is not in Klein's table; Greenlee's gives 1/8" per inch). The ideal sharp-corner column is there for comparison.
| Angle | Shrink per inch (rule) | Ideal sharp-corner tan(θ/2) | 6" offset | 10" offset |
|---|---|---|---|---|
| 10° | 1/16" | 0.087 | 3/8" | 5/8" |
| 15° | 1/8" | 0.132 | 3/4" | 1-1/4" |
| 22.5° | 3/16" | 0.199 | 1-1/8" | 1-7/8" |
| 30° | 1/4" | 0.268 | 1-1/2" | 2-1/2" |
| 45° | 3/8" | 0.414 | 2-1/4" | 3-3/4" |
| 60° | 1/2" | 0.577 | 3" | 5" |
Where to add shrink
- Offset toward an obstruction: measure from the end of the conduit to the obstruction, add the shrink; that is where the offset must finish (the second mark).
- Offset away from an obstruction: the first mark is where the offset starts; shrink does not change it, but the far end of the run comes up short by the shrink.
- Kick: the kick mark stays put, and the end of the conduit lands the shrink closer than straight pipe would.
Worked example: a 5" offset at 45° toward a pipe 50" away
- Distance between bends: 5 × 1.4 = 7".
- Shrink: 5 × 3/8" = 1-7/8". The offset uses up that much conduit, so add it: the second bend goes at 50 + 1-7/8 = 51-7/8".
- First bend 7" before that: 44-7/8" from the end. Without the shrink the offset would finish 1-7/8" short and hit the pipe.
Shrink in saddles
| 3-point saddle | Center mark shift per inch | Total shrink per inch |
|---|---|---|
| 45° / 22.5° | 3/16" | 3/8" |
| 60° / 30° | 1/4" | 1/2" |
| 90° / 45° | 3/8" | 3/4" |
A 4-point saddle is two offsets, so it shrinks twice as much as one offset of the same depth. Only the first side moves the marks toward the obstruction; the second side shortens the run beyond it. See the 3-point and 4-point saddle calculators.
Field shrink rules vs ideal geometric shrink
The field shrink fractions are convenient layout values published in bender guides. The formula depth × tan(angle ÷ 2) describes an ideal offset with sharp corners and no bend radius: 30° gives 0.268 per inch against the field 1/4", so on a 10" offset at 45° the ideal figure is about 4-1/8" against 3-3/4" by the rule. Real conduit follows curved bends, so its finished shrink depends on the bend geometry and the bender, and neither set of values guarantees a finished dimension. Use the field values for your tool and check critical layouts before cutting. The derivation is on the formulas page.
When shrink does not matter
If nothing on the far side of the bend has to land at an exact spot, and you are not measuring to an obstruction, you can ignore shrink and cut the conduit long. It matters when an offset must clear something at a measured distance, or when a stick has to fit exactly between two boxes.
Sources: NEC 2023 358.24 and Chapter 9, Table 2; Klein Tools Conduit Bender Guide (stub take-up, offset multipliers and shrink, saddles). Method.
Questions electricians ask
How do you calculate conduit shrink?
Multiply the offset depth by the shrink per inch for your angle: 10° = 1/16", 22.5° = 3/16", 30° = 1/4", 45° = 3/8", 60° = 1/2". A 6" offset at 30° shrinks 1-1/2". For an ideal offset with no bend radius the theoretical shrink is depth × tan(angle ÷ 2); real shrink varies with the bend geometry and bender, so use the published field allowance for layout and check critical dimensions.
Do you add or subtract shrink?
For an offset bent toward an obstruction, add the offset’s shrink allowance when you position the far bend. For a 3-point saddle, add only the center-mark correction to the measured obstruction center (3/16" per inch of depth for a 45° center), not the total end-to-end loss. For a kick, the kick mark itself does not move; allow for the shrink in the leg beyond it.
Why is shrink different for a 3-point saddle?
A 3-point saddle is two half-angle slopes meeting at the center, so the center mark moves out by the shrink of one slope: 3/16" per inch of depth for a 45° saddle. The whole conduit shrinks twice that.
Does a 90 have shrink?
Not in the same sense. A 90 is marked with the take-up (deduct), and the conduit a 90 saves is called gain. Shrink applies to offsets, saddles and kicks.
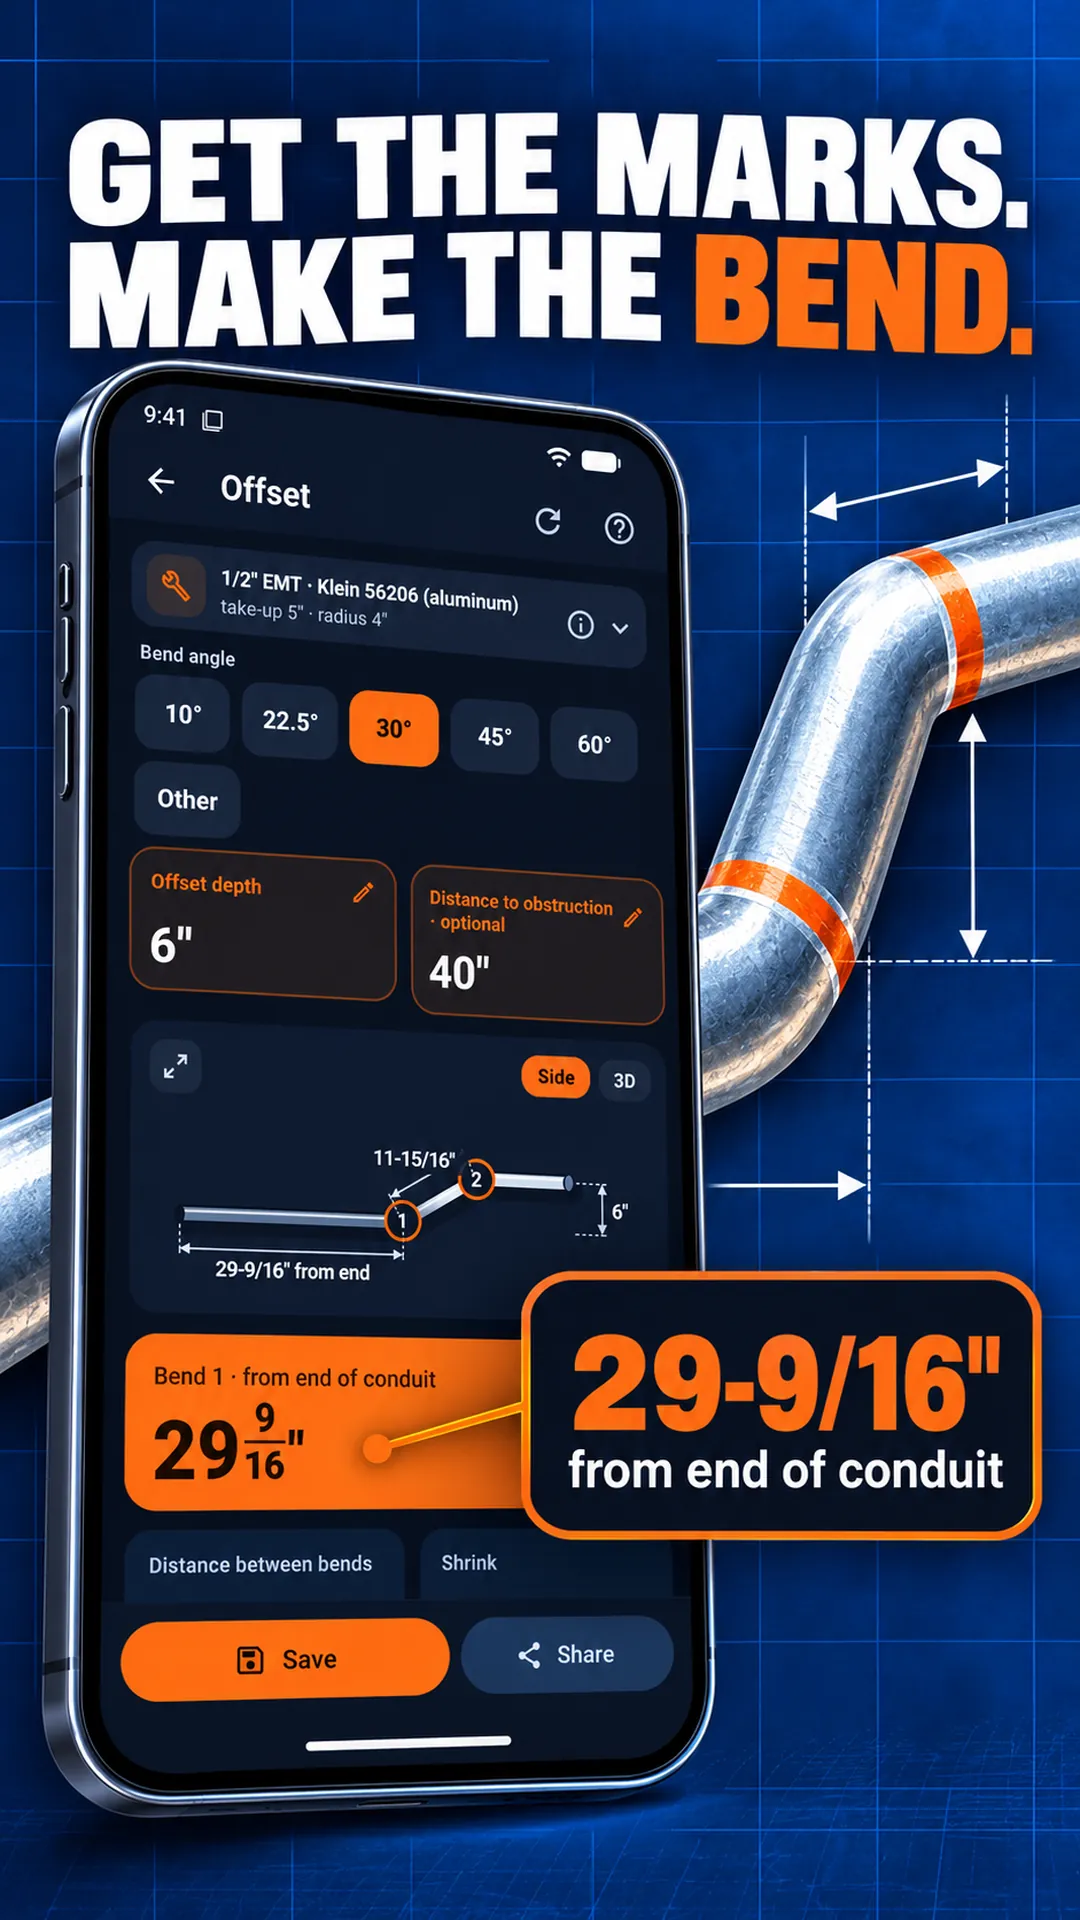
Shrink, already in the marks
- Marks from the end of the pipe with the shrink added for you
- Exact shrink corrected for the radius of your shoe
- Total shrink across a whole stick in the run planner
- Every bend type, offline
Android only. There is no iPhone version yet; the free calculators on this site work on any phone.
$7.99 one time · no subscription · no ads · works offline