 Conduit Bending
By Blissom · Updated 2026-11-04
Layout values: check them against your own bender, on scrap first.
In one line: mark at a known distance, bend a true 90, and subtract. The stub reading minus the mark is your take-up. Both legs to the back minus the stick length is your gain.
Why measure it yourself
The take-up stamped on a hand bender is a good starting point, but shoes wear, models differ, and machine benders often have no stamp at all. A stub that comes out 1/4" long on every 90 is a take-up problem, not a technique problem.
Gain matters too. It decides cut lengths for back-to-back 90s and any piece with a 90 at each end. Few benders have it printed anywhere.
The test-90 procedure
- Cut a test piece and tape its full length. Square ends help; deburr them so the tape hooks cleanly.
- Mark it a round distance from one end, 20" for small EMT, more for big pipe so the stub clears the machine.
- Bend a 90 with the reference you normally use on the mark: the arrow on a hand bender, the shoe's start mark or the hook edge on a machine. Hook toward the end you measured from.
- Make it a true 90. Check the stub plumb with a level, both ways. Correct spring-back before measuring.
- Measure the stub. Lay the long leg flat on the floor, stub up, and tape from the floor up the stub to its end. That is the stub height to the back of the 90.
- Measure the other leg from its end to the back of the 90 as well.
- Run the numbers in the calculator. Repeat once on a second piece; the two should agree within 1/16" or so.
- Write it on the bender: size, take-up, gain. Paint marker on the shoe lasts.
Worked example
A 1/2" EMT hand bender, 60" test piece, mark at 20".
- Stub measures 25". Take-up = 25" − 20" = 5".
- Long leg measures 37-11/16". Gain = (25" + 37-11/16") − 60" = 2-11/16".
- Radius = (2.688 − 0.706) ÷ 0.4292 = 4.62", close to the 4-5/8" published for common 1/2" EMT shoes.
From gain to radius
Measured to the back of the 90, each leg reads the radius plus half the OD past the end of its straight. The pipe itself only spends a quarter circle on the bend. So:
The divisor is 0.4292, small enough that a 1/16" error in gain moves R by about 1/8". Treat the radius as a check, not a spec. It is useful for segmented sweeps and to see whether a shoe is close to the NEC minimum radius.
Chicago and electric benders
Mechanical (Chicago-style) and electric benders work on the same geometry, but there is no single deduct. It depends on the shoe, the conduit type and size, and where the machine's reference sits.
- Look for the chart or label on the machine first; it may list the deduct per shoe.
- No chart, a replaced shoe, or doubt: run the test 90 above for each size you bend.
- Use the machine's own start reference on the mark during the test. The number you get is only valid for that reference.
- Write the result on the shoe or a tag on the machine, so the next person doesn't guess.
Rigid and IMC spring back more than EMT, so check the test 90 with a level before taking any measurement. More in bending rigid and IMC.
Hand-bender reference values
What to expect from common EMT hand benders. The gain column is what a shoe with the published radius should measure to the back of the 90:
| EMT | Usual take-up | OD | Shoe radius | Expected gain |
|---|---|---|---|---|
| 1/2" | 5" | 0.706" | 4-5/8" | 2-11/16" |
| 3/4" | 6" | 0.922" | 5-1/2" | 3-5/16" |
| 1" | 8" | 1.163" | 6-1/2" | 3-15/16" |
| 1-1/4" | 11" | 1.51" | — | measure |
Take-ups are the common trade values; radii are published values for named shoes (see the take-up chart). Where no radius was verified, measure it.
Measuring pitfalls
- Bend not a true 90. A stub at 88° reads short. Level it first.
- Measuring to the inside or the center of the 90 instead of the back. The formulas above assume the back.
- Tape hook on a burr or a ragged cut end; it adds 1/16" or more.
- Mark under the wrong reference, or the pipe slipped in the hook during the pull.
- A stub too short for the machine: the end sits inside the shoe and the bend forms wrong. Use a longer mark.
Sources: NEC 2023 358.24 and Chapter 9, Table 2; Klein Tools Conduit Bender Guide (stub take-up, offset multipliers and shrink, saddles); Klein Tools Conduit Bending Basics (90° stub-up take-up table: 5", 6", 8", 11"). Method.
Questions electricians ask
How do you find the take-up on a bender?
Mark a scrap stick a known distance from the end, say 20", and bend a 90 with the arrow (or the machine's reference) on the mark. Measure from the end to the back of the stub. Take-up = stub height − 20".
What is the deduct on a Chicago bender?
It depends on the shoe and the conduit size, and it is usually listed on the machine's chart or label. If the chart is gone or you doubt it, measure it with a test 90 the same way as on a hand bender, then write the number on the shoe.
How do you calculate gain in conduit bending?
Tape the whole stick before bending. After one 90, measure each leg from its end to the back of the 90 and add the two. Gain = that sum − the original length. It is how much longer the legs read than the pipe actually is.
What is the take-up of 1/2" EMT?
The usual hand-bender value is 5" for 1/2" EMT, 6" for 3/4", 8" for 1" and 11" for 1-1/4". Your bender may differ slightly; a test 90 confirms it.
Is there a rigid conduit take-up chart?
On hand benders, rigid usually uses the groove of the next EMT size up, with that shoe's take-up: 1/2" rigid on a 3/4" EMT shoe is about 6". Mechanical and electric rigid benders have their own charts per shoe; measure if unsure.
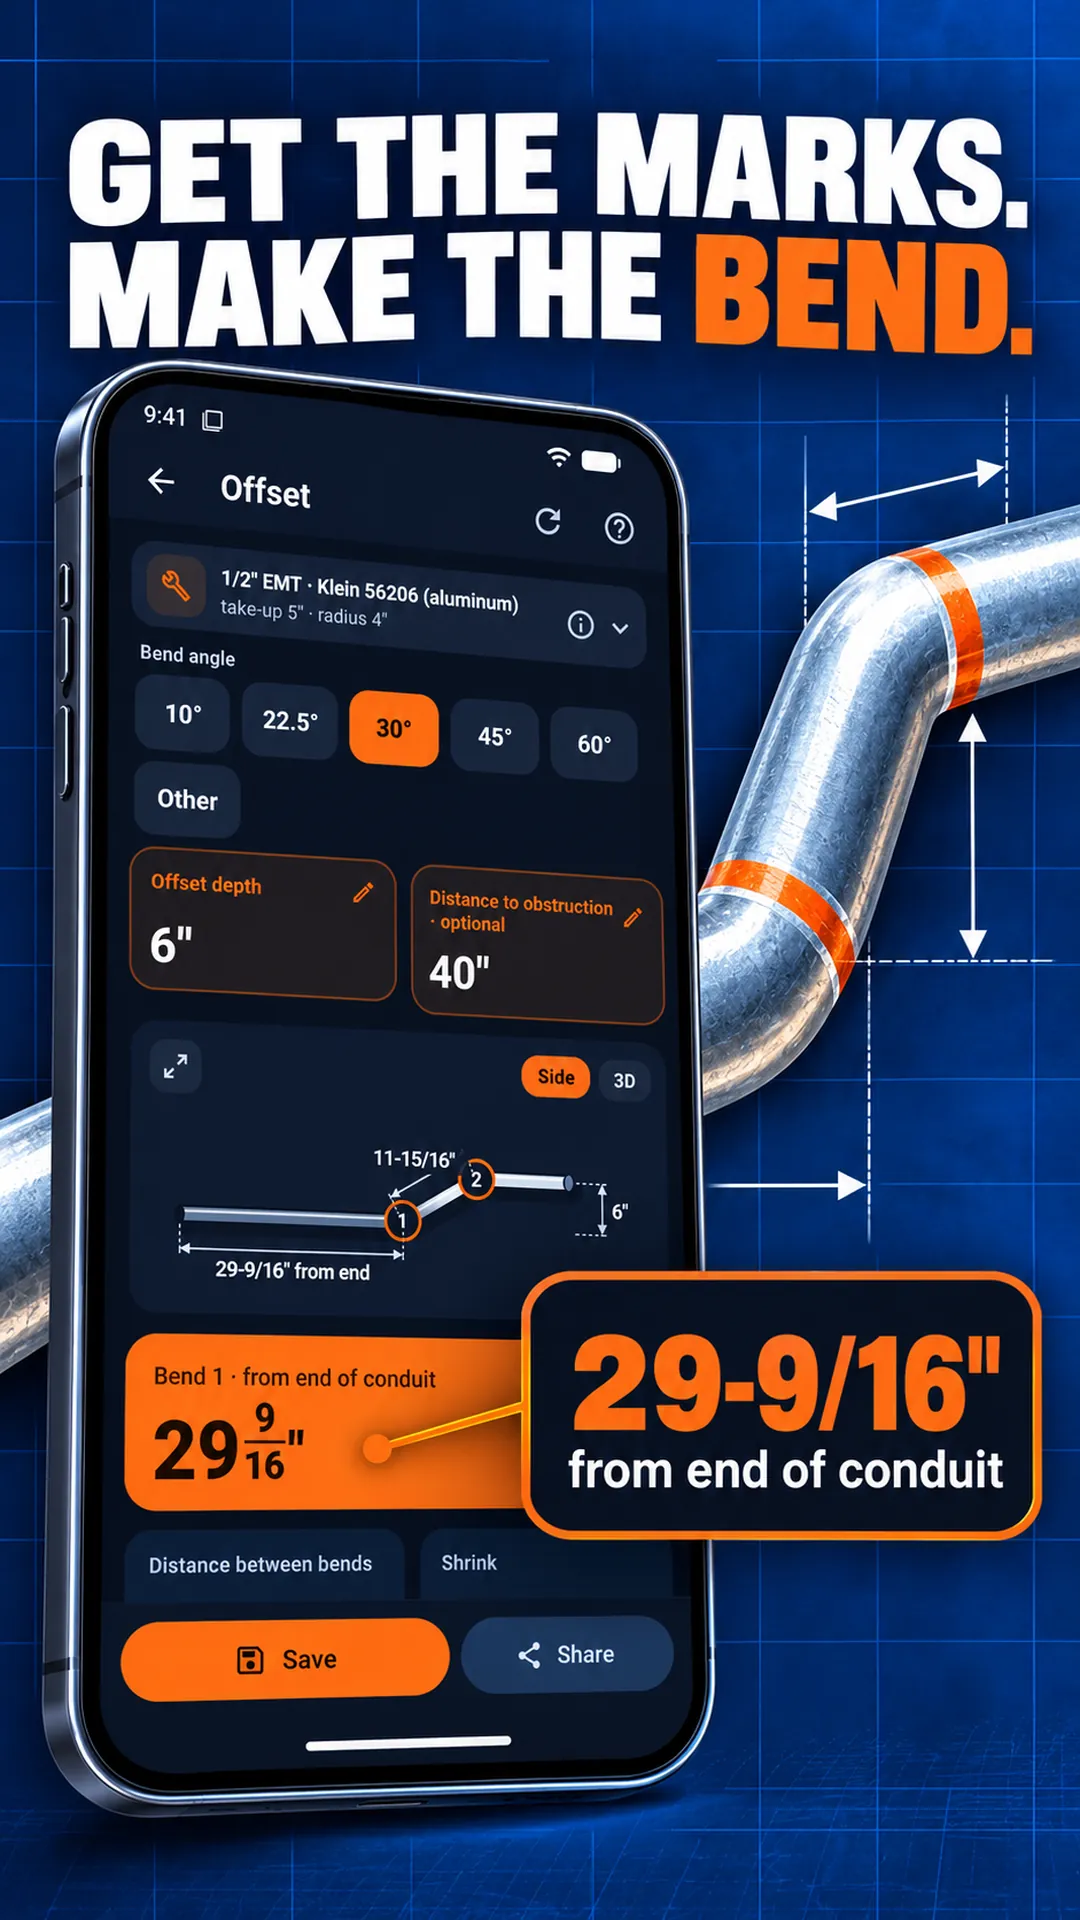
Your measured numbers, every bend
- Add your bender with its own take-up and radius
- Marks from the end, corrected for that shoe
- Drawings that show the hook direction
- Saved jobs, offline
Android only. There is no iPhone version yet; the free calculators on this site work on any phone.
$7.99 one time · no subscription · no ads · works offline