 Conduit Bending
Updated 2026-09-29
Short answer: multiply the offset depth by the multiplier for your angle to get the distance between the two marks (30° = 2, 45° = 1.4, 22.5° = 2.6, 10° = 6). Add the shrink (30° = 1/4" per inch of depth) to your measurement when you bend toward an obstruction.
How to use the offset calculator
- Measure the depth. The distance the conduit has to move over, measured square to the run, from the surface the conduit sits on to the surface it needs to reach. Measure to the same edge of the pipe at both ends (bottom to bottom or center to center).
- Pick the angle. 30° for most jobs. The calculator shows the distance between bends and the shrink instantly.
- Mark and bend. Put the first mark where the offset should start and the second mark the distance-between-bends farther along. Bend the first mark, rotate the conduit exactly 180°, and bend the second mark to the same angle.
- Sight it. Look down the conduit. Both bends must sit in the same plane, or the offset "dog-legs" and will not lie flat.
Worked example: 4" offset at 30° around a pipe 40" away
You are running 1/2" EMT along a wall and a pipe sticks out 4" at 40" from the end of your stick. You bend toward the obstruction with 30° bends.
- Distance between bends: 4" × 2 = 8".
- Shrink: 4" × 1/4" = 1". The offset "eats" 1" of conduit, so the offset has to finish 1" farther along the stick than the 40" you measured.
- The second bend finishes the offset: mark it at 40" + 1" = 41" from the end.
- The first mark is 8" back from that: 41" − 8" = 33".
- Bend 30° at 33", rotate 180°, bend 30° at 41". The offset now clears the pipe at 40".
That is the sticker method printed on every hand bender. It is accurate to about 1/16" on shallow offsets. On deep offsets, or when you need the marks exactly, the difference between the rounded multiplier and the exact trigonometry (and the radius of the shoe) starts to matter; see the formulas.
Offset multiplier and shrink chart
These are the numbers stamped on hand benders, next to the exact values they round.
| Angle | Multiplier (sticker) | Exact (csc θ) | Shrink per inch | Exact (tan θ/2) |
|---|---|---|---|---|
| 10° | 6.0 | 5.759 | 1/16" | 0.087 |
| 15° | 3.9 | 3.864 | 1/8" | 0.132 |
| 22.5° | 2.6 | 2.613 | 3/16" | 0.199 |
| 30° | 2.0 | 2.000 | 1/4" | 0.268 |
| 45° | 1.4 | 1.414 | 3/8" | 0.414 |
| 60° | 1.2 | 1.155 | 1/2" | 0.577 |
Offset table: distance between bends and shrink
Ready-made marks for the most common depths. Read across to your angle: the first number is the distance between bends, the second the shrink. Need every depth to 24"? The full bending chart has it.
| Depth | 10° | 22.5° | 30° | 45° | 60° |
|---|---|---|---|---|---|
| 1" | 6" / 1/16" | 2-5/8" / 3/16" | 2" / 1/4" | 1-3/8" / 3/8" | 1-3/16" / 1/2" |
| 2" | 12" / 1/8" | 5-3/16" / 3/8" | 4" / 1/2" | 2-13/16" / 3/4" | 2-3/8" / 1" |
| 3" | 18" / 3/16" | 7-13/16" / 9/16" | 6" / 3/4" | 4-3/16" / 1-1/8" | 3-5/8" / 1-1/2" |
| 4" | 24" / 1/4" | 10-3/8" / 3/4" | 8" / 1" | 5-5/8" / 1-1/2" | 4-13/16" / 2" |
| 5" | 30" / 5/16" | 13" / 15/16" | 10" / 1-1/4" | 7" / 1-7/8" | 6" / 2-1/2" |
| 6" | 36" / 3/8" | 15-5/8" / 1-1/8" | 12" / 1-1/2" | 8-3/8" / 2-1/4" | 7-3/16" / 3" |
| 8" | 48" / 1/2" | 20-13/16" / 1-1/2" | 16" / 2" | 11-3/16" / 3" | 9-5/8" / 4" |
| 10" | 60" / 5/8" | 26" / 1-7/8" | 20" / 2-1/2" | 14" / 3-3/4" | 12" / 5" |
| 12" | 72" / 3/4" | 31-3/16" / 2-1/4" | 24" / 3" | 16-13/16" / 4-1/2" | 14-3/8" / 6" |
Which angle should you use?
- 10° for box offsets and shallow moves under about 1". Marks are far apart (6 × depth), shrink is almost nothing.
- 22.5° for small offsets when you want an easy pull; the marks are 2.6 × depth apart.
- 30° for almost everything. The multiplier of 2 is easy to do in your head and the shrink is modest.
- 45° when the offset has to happen in a short space. Expect 3/8" of shrink per inch and a harder pull.
- 60° only when nothing else fits. 1/2" of shrink per inch, and each 60° bend counts heavily toward the 360° limit between pull points.
The NEC limits the bends between pull points to 360° in total (for example EMT in 358.26). An offset at 30° uses 60° of that, at 45° it uses 90°.
The offset formula
The conduit between the two bends is the hypotenuse of a right triangle whose short side is the depth, so its length is the depth divided by the sine of the angle. Shrink is the difference between that hypotenuse and the horizontal distance it covers, which simplifies to the depth times the tangent of half the angle. The sticker multipliers are these values rounded to one decimal.
Mistakes that ruin offsets
- Not rotating exactly 180° between the bends. A few degrees off and the offset dog-legs. Sight down the pipe before the second bend and check that the first bend points straight at you.
- Unequal angles. A 30° and a 32° bend leave the conduit crooked on the far side. Use the marks on the bender or a level.
- Forgetting the shrink when bending toward an obstruction: the offset lands short and hits it.
- Measuring the depth to different edges of the pipe at each end, which throws the depth off by a pipe diameter.
- Using the arrow on one bend and the star or notch on the other. Offsets use the same reference mark on the bender for both bends.
Questions electricians ask
What is the multiplier for a 30 degree offset?
The multiplier for a 30° offset is 2. Multiply the offset depth by 2 to get the distance between bends: a 6" offset has marks 12" apart. The exact value is 1 ÷ sin 30° = 2.000, so the sticker number and the math agree.
How much does a 30 degree offset shrink?
A 30° offset shrinks about 1/4" for every inch of depth. A 4" offset shrinks 1", a 6" offset shrinks 1-1/2". The exact value is tan 15° = 0.268 per inch, so on deep offsets the true shrink is slightly more than the rule of thumb.
What is the multiplier for a 45 degree offset?
The 45° multiplier is 1.4 (exactly 1.414). A 10" offset at 45° has marks 14" apart (14-1/8" by exact trig) and shrinks 3/8" per inch of depth, 3-3/4" in total.
What angle is best for an offset?
30° is the everyday choice: an easy multiplier of 2, moderate shrink, and wire pulls easily. Use 22.5° or 10° for shallow offsets, 45° when space is tight, and 60° only when you have no room, because the pull gets hard and the shrink is 1/2" per inch.
Do I add or subtract shrink?
Add it. When you measure from the end of the conduit to the obstruction and bend toward it, the offset uses up conduit, so the marks must move farther out by the shrink amount. When you bend away from the obstruction, shrink does not affect the marks.
How do I make a box offset?
A box offset is usually about 1/2" deep with two 10° bends. With the multiplier of 6, the marks are 3" apart. Many electricians skip the math and use a box offset bender, but the same rule applies.
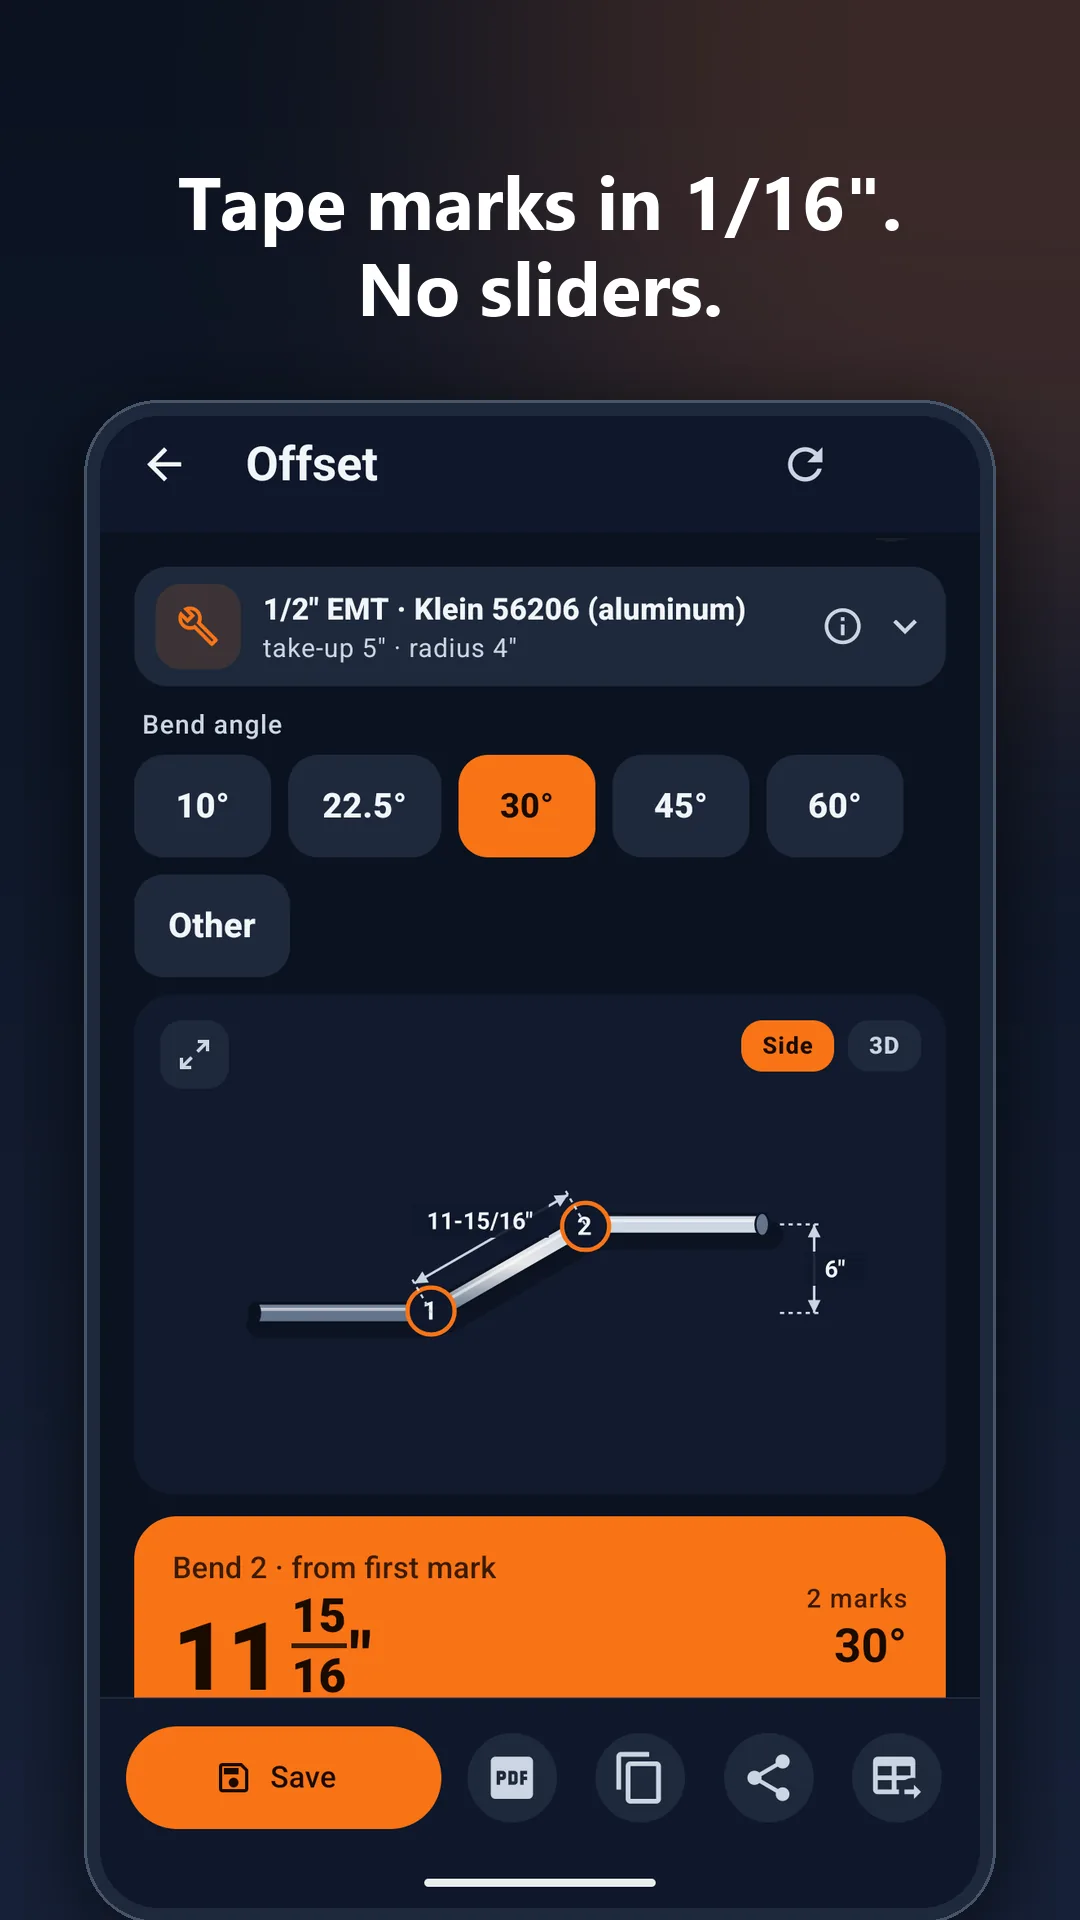
Bend the offset, not the math
- Both marks measured from the end of the pipe, from your distance to the obstruction
- Corrected for the radius of your bender shoe, so marks land within 1/16"
- Drawing with the hook direction for each mark, and guide mode one step at a time
- Rolling, parallel and matching offsets, saved jobs, PDF bend sheets, offline
$7.99 one time · no subscription · no ads · works offline
Related calculators and charts
True offset and roll angle when the run moves over and up at once.
Open →4-Point SaddleBend spacing and total shrink to clear a wide obstruction.
Open →KickTravel and shrink for a single bend, or the angle from rise and run.
Open →Bending Multiplier ChartMultipliers, shrink per inch and a ready-made offset table from 1" to 24".
Open →Conduit Bending FormulasEvery formula behind offsets, saddles, 90s and kicks, with where each number comes from.
Open →